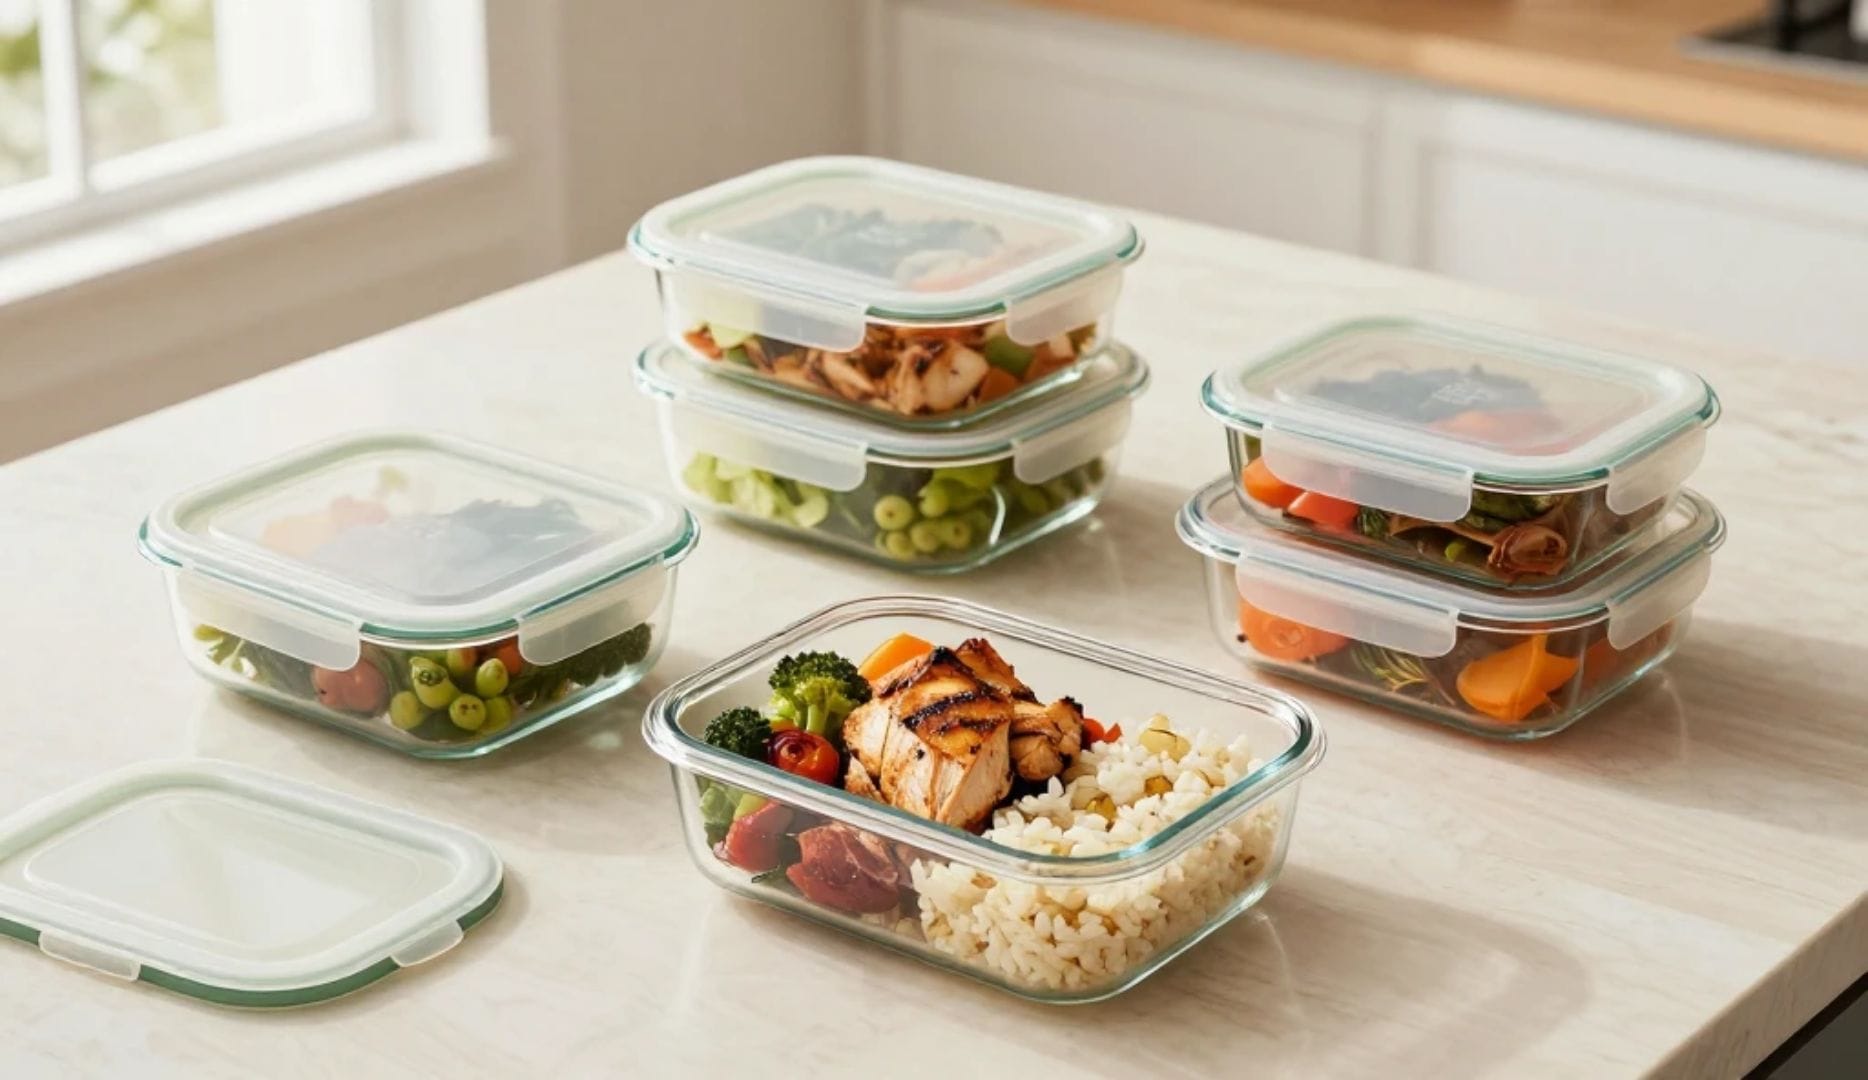
Learning how to choose meal prep containers comes down to six factors most buyers never check before ordering: material, lid seal, size, compartments, stackability, and dishwasher durability. Get those six right and the container works for years. Get them wrong and you’re replacing warped, stained containers every few months.
Choose glass for reheating and long-term use. Choose BPA-free plastic for commuting and portability. Pick divided containers for portion control, single-compartment for batch cooking. Match size to your meal — 3 to 5 cups for mains, 1 to 2 cups for snacks. Prioritize lids with 4-sided seals over 2-sided clips.
Most people buy meal prep containers based on what looks good in photos. They end up with containers that warp in the dishwasher, lids that stain yellow after one batch of turmeric chicken, or sizes too small for actual meals.
This guide covers everything involved in how to choose meal prep containers — material, size, lid type, compartments — and where most buyers go wrong.
How to Choose Meal Prep Containers: The 6 Factors That Actually Matter
Step-by-Step: How to Pick the Right Container
Decide how you’ll reheat food
Reheating in the container daily? Go glass. Reheating rarely or plating separately? Plastic works fine.
Match size to your actual meal
Measure a typical plate. Most main meals need 3 to 5 cups — not the 7 to 8 cup containers marketed as “family size.”
Check the lid clip count
Count the latches in the product photos. Four beats two, every time, for anything that travels.
Decide compartments or single-space
Portion control → divided. Batch cooking and freezing → single compartment, larger capacity.
Confirm BPA-free labeling
Never assume. Check the listing explicitly states BPA-free before buying any plastic container.
Glass vs Plastic: The Real Decision
The choice between glass and plastic meal prep containers comes down to how you use them. Both work. Neither is universally better.
Choose glass if you:
- Reheat food directly in the container
- Cook strong-smelling foods like salmon or curry
- Want containers that last 5 or more years
- Prep at home and carry less than 15 minutes to work
Choose BPA-free plastic if you:
- Commute long distances with your containers
- Pack kids’ lunches where drops are likely
- Need to carry many containers at once
- Are starting meal prep for the first time
How to Choose the Right Size
Container size affects portion control more than any other factor. Buy containers that match your typical meal size exactly — not ones with extra room.
| Meal Type | Recommended Size | Why |
|---|---|---|
| Main meal (lunch or dinner) | 3 to 5 cups | Holds a balanced plate without space to overfill |
| Salad with toppings | 5 to 7 cups | Greens compress when sealed — start larger |
| Snack or side dish | 1 to 2 cups | Fruit, nuts, hummus portions |
| Soup or liquid meals | 2 to 3 cups | Leave headspace to prevent lid pressure |
| Batch cooking storage | 6 to 10 cups | Store large batches, portion when eating |
Divided vs Single Compartment
Divided containers work better for portion-controlled eating. The compartments make it impossible to pile everything into one section — protein, vegetable, and carb each get defined space.
Single-compartment containers work better for batch cooking where you store a large quantity and plate separately at mealtime. They are also easier to clean.
The common mistake is buying divided containers that are too small. A 3-compartment container under 3 cups total gives you roughly one cup per section — not enough for a satisfying meal. Look for divided containers with 3.5 cups minimum total capacity.
The Decision Guide: Which Container Fits Your Life
The Pre-Purchase Checklist
Before buying any meal prep container, confirm:
Related Guides
- Glass vs Plastic Meal Prep Containers: Full Comparison
- Best Leak-Proof Meal Prep Containers 2026
- Best Meal Prep Containers for Weight Loss 2026
- Best Meal Prep Containers for Salads 2026
Bottom Line
Glass for home use, plastic for commuting. Divided for portion control, single compartment for batch cooking. 4-sided lids for anything liquid. 3 to 5 cups for main meals.
The single most important factor most buyers ignore is lid seal quality. Two-clip lids look identical to four-clip lids in photos. They perform completely differently when you tilt the container sideways in a bag.
That’s really the whole approach to how to choose meal prep containers — check the lid clip count before buying anything. Everything else is secondary.
Frequently Asked Questions
Source: FDA — Food Packaging and Substances That Come in Contact with Food